Split-level homes rarely fail because of square footage. They fail because light stops where the floor levels change. If you’re working from a lighting layout guide for split level remodels, that is the first problem to solve – not fixture style, not finish, not even wattage. The real job is restoring visual continuity so the house reads as one property instead of three disconnected zones.
For builders, designers, and investors, that matters on both the install side and the resale side. Split levels often have low transitions, half-stair landings, partial walls, and living spaces that sit below grade. Those conditions create shadows, awkward sightlines, and inconsistent brightness that make a remodel feel cheaper than it is. A smart lighting plan fixes that fast, and it does it without overloading the ceiling with random cans.
Why split levels need a different lighting plan
A standard open-plan lighting grid usually underperforms in split-level remodels. The ceiling heights shift. The circulation path bends. Daylight enters from different elevations, and lower-level rooms often lose usable natural light by mid-afternoon. If you copy-paste the same recessed layout from a ranch or colonial, you’ll end up with bright spots in the wrong places and dark seams where buyers notice them most.
The better approach is layered lighting built around transitions. In split levels, the eye keeps moving up and down, so every change in level needs both safe illumination and visual connection to the next zone. That means thinking in sequences rather than isolated rooms. The landing should relate to the upper hall. The lower family room should feel tied to the kitchen above. The entry should not read as a cave under a brighter main floor.
This is also where ROI shows up. Good lighting can make an older split level feel newer, larger, and cleaner without moving walls. For investors, that improves staging and listing photos. For builders, it reduces change orders tied to “dark corners” and underlit stairs. For designers, it creates a cleaner spec story across finishes, fixture families, and dimming controls.
Start the lighting layout guide for split level remodels with zones
Before you place fixtures, map the house into functional lighting zones rather than room labels. In most split levels, those zones include the entry transition, stair and landing sequence, upper main living area, lower-level living area, bedrooms, and service spaces like mudrooms or laundry.
This matters because a split-level kitchen may visually connect to a stair opening, dining area, and lower family room all at once. If each area is lit independently with no hierarchy, the result feels chaotic. Instead, establish a dominant ambient layer for each level, then use task and accent lighting to guide movement and define use.
A practical rule is to treat every stair and landing as its own lighting zone with dedicated control. That avoids the common problem of one switch trying to serve two floors badly. In a remodel, especially for resale, separate controls also help the home feel updated even when the fixture count stays modest.
The three layers that do the heavy lifting
Ambient lighting carries the base load. In split levels, recessed downlights or low-profile flush fixtures usually handle this best, but spacing matters more than count. You want overlap, not hotspots.
Task lighting supports how the space actually works. Under-cabinet lighting in kitchens, vanity lighting at bathrooms, desk lighting in flex spaces, and directional light at work zones all do more for usability than adding extra general cans.
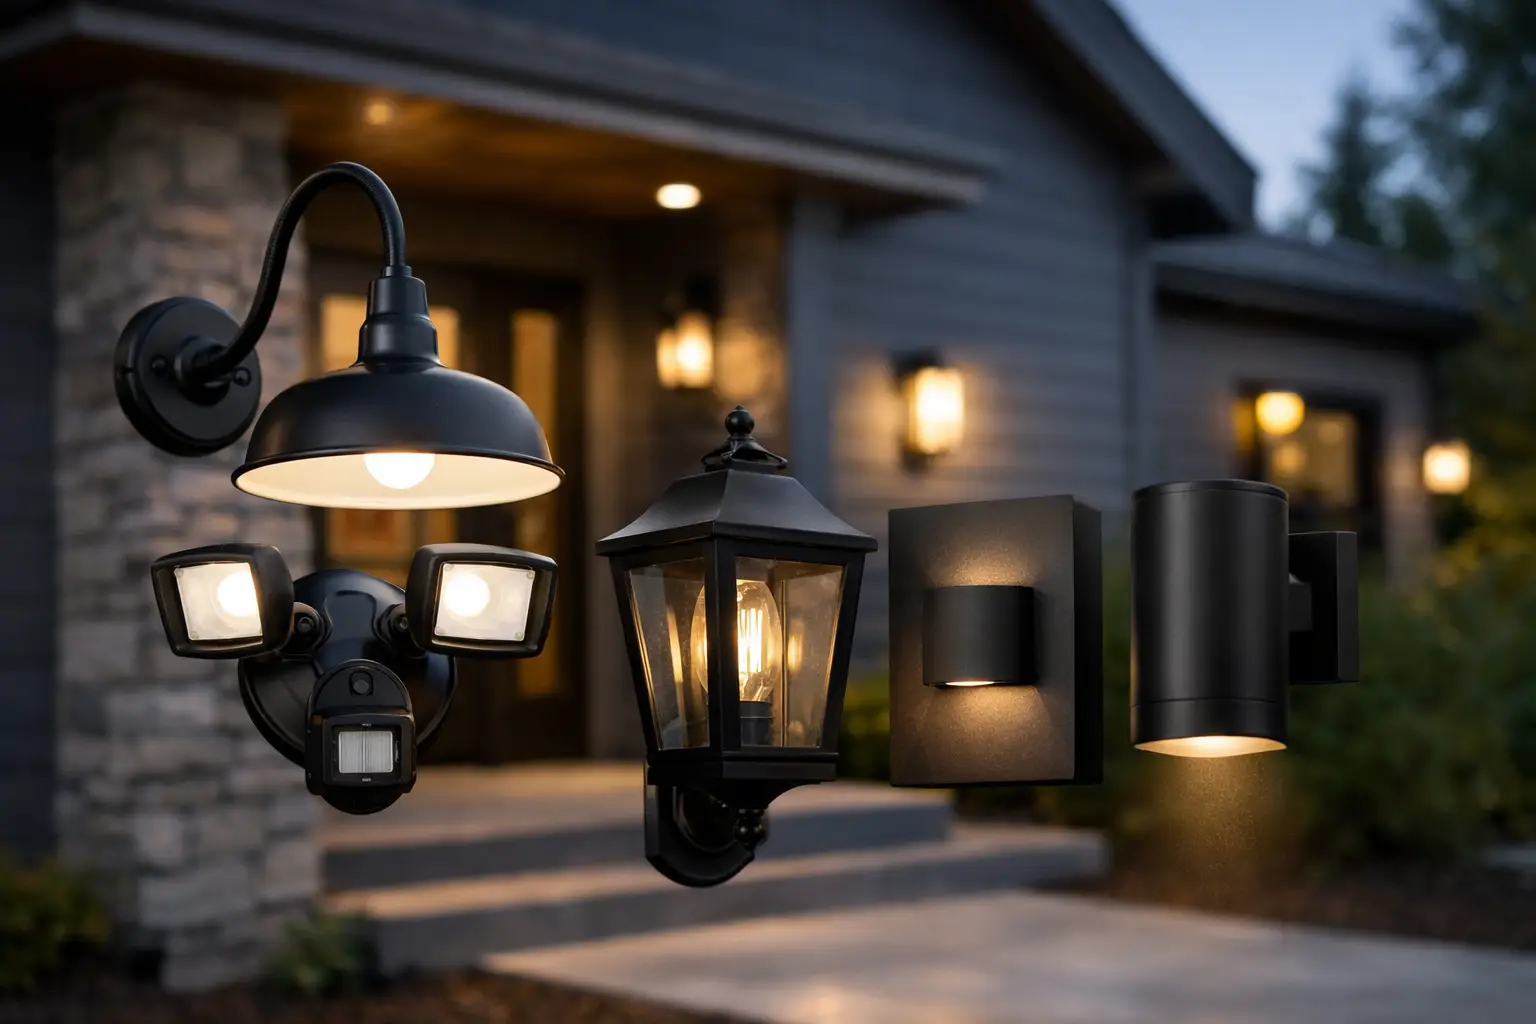
Accent lighting connects levels and adds depth. Wall washers, step lights, picture lights, and strategically placed sconces can make a staggered floor plan feel intentional rather than patched together.
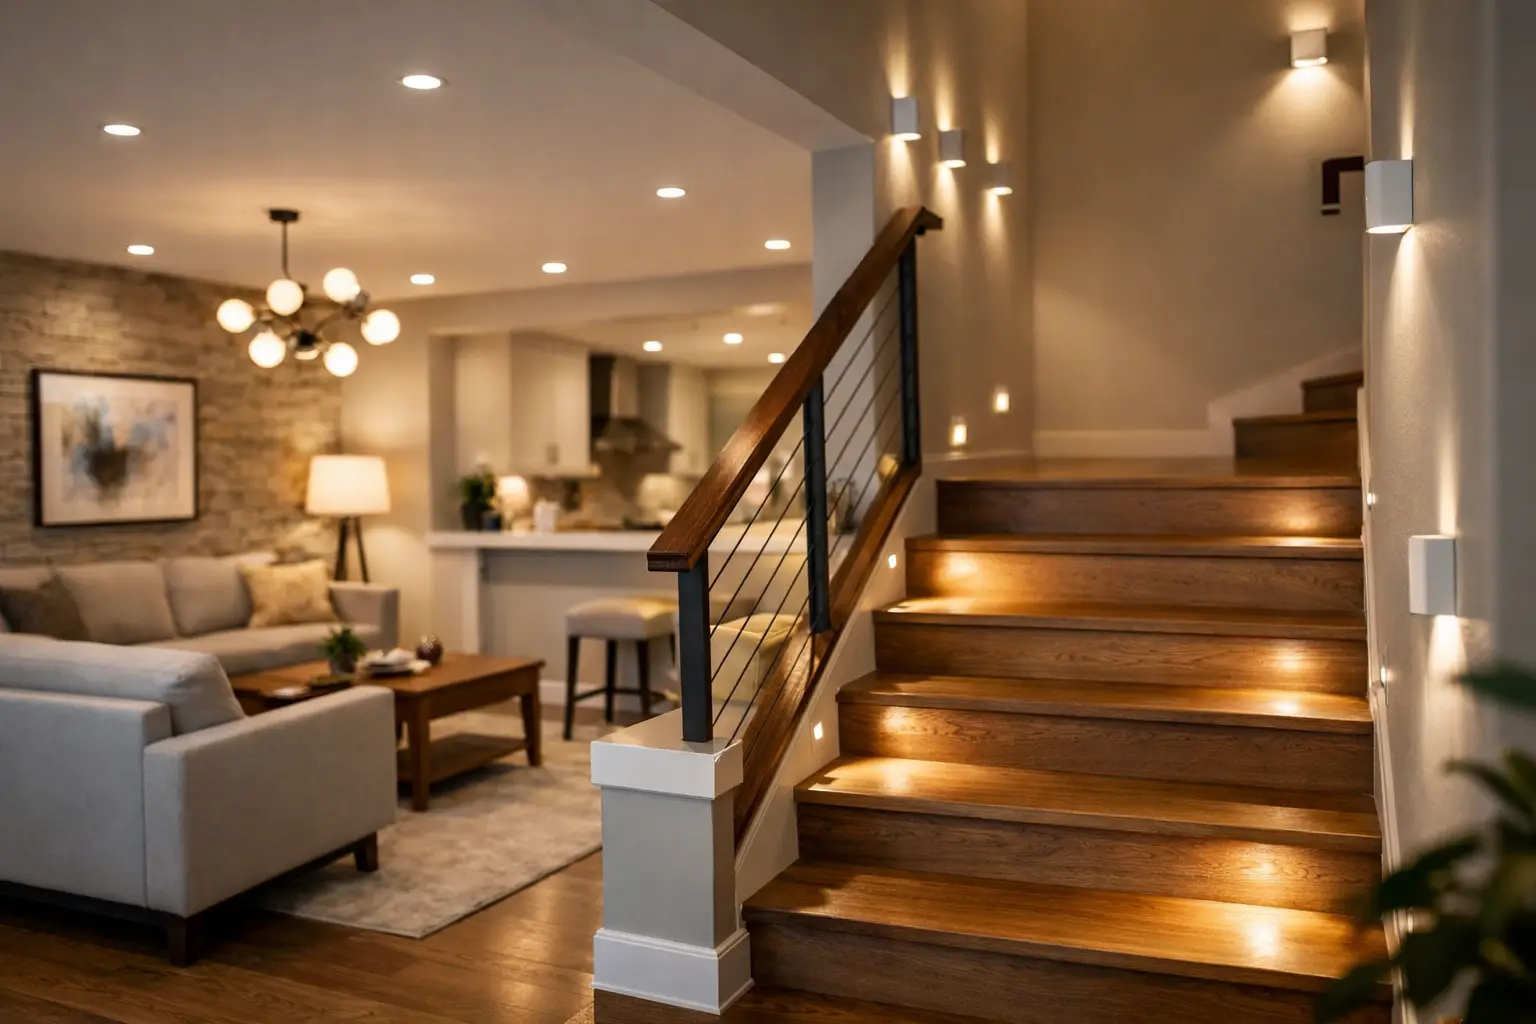
Entry and stair sequences are where remodels win or lose
In most split levels, the front door opens into a compressed transition with immediate visual access to stairs. If that zone is dim, the entire house starts behind. Buyers and clients notice it instantly, even if they cannot explain why.
Light the entry as a gateway, not a leftover. A flush mount or semi-flush fixture centered for arrival should be paired with directional support at the stair path. If ceiling conditions allow, add recessed fixtures at the top and bottom of the stair runs rather than one fixture over the middle. That creates safer tread visibility and a more even visual handoff between levels.
For enclosed or partially enclosed stairs, wall sconces can outperform additional cans because they spread light horizontally and soften shadows on walls. For higher-end remodels or aging-in-place considerations, low-level step lights are a strong spec. They improve nighttime navigation without forcing full brightness through the circulation spine.
Keep color temperature consistent through the entry, landing, and adjacent hallways. Split levels already feel segmented. Mixing warm and cool lamps across short distances only makes that worse.
Main level living areas need balance, not maximum brightness
The upper main level often carries the kitchen, dining, and living spaces. This is where teams tend to overspec recessed lighting because the room appears larger from certain angles. But in split-level homes, too many downlights can flatten the ceiling and create glare near stair openings.
A better plan is to space ambient fixtures around furniture layouts and circulation lines, then let decorative fixtures anchor focal points. Pendants over an island, a dining fixture centered to the table, and a ceiling fan with integrated light in the living room can carry both function and visual structure. For builders trying to control labor and product costs, this is often more efficient than expanding the recessed count to solve every need.
If the living area has a vaulted section or a partial overlook to the lower level, use beam spreads carefully. Narrow beams create contrast that can exaggerate level changes. Wider, softer distribution usually makes the home feel calmer and more connected.
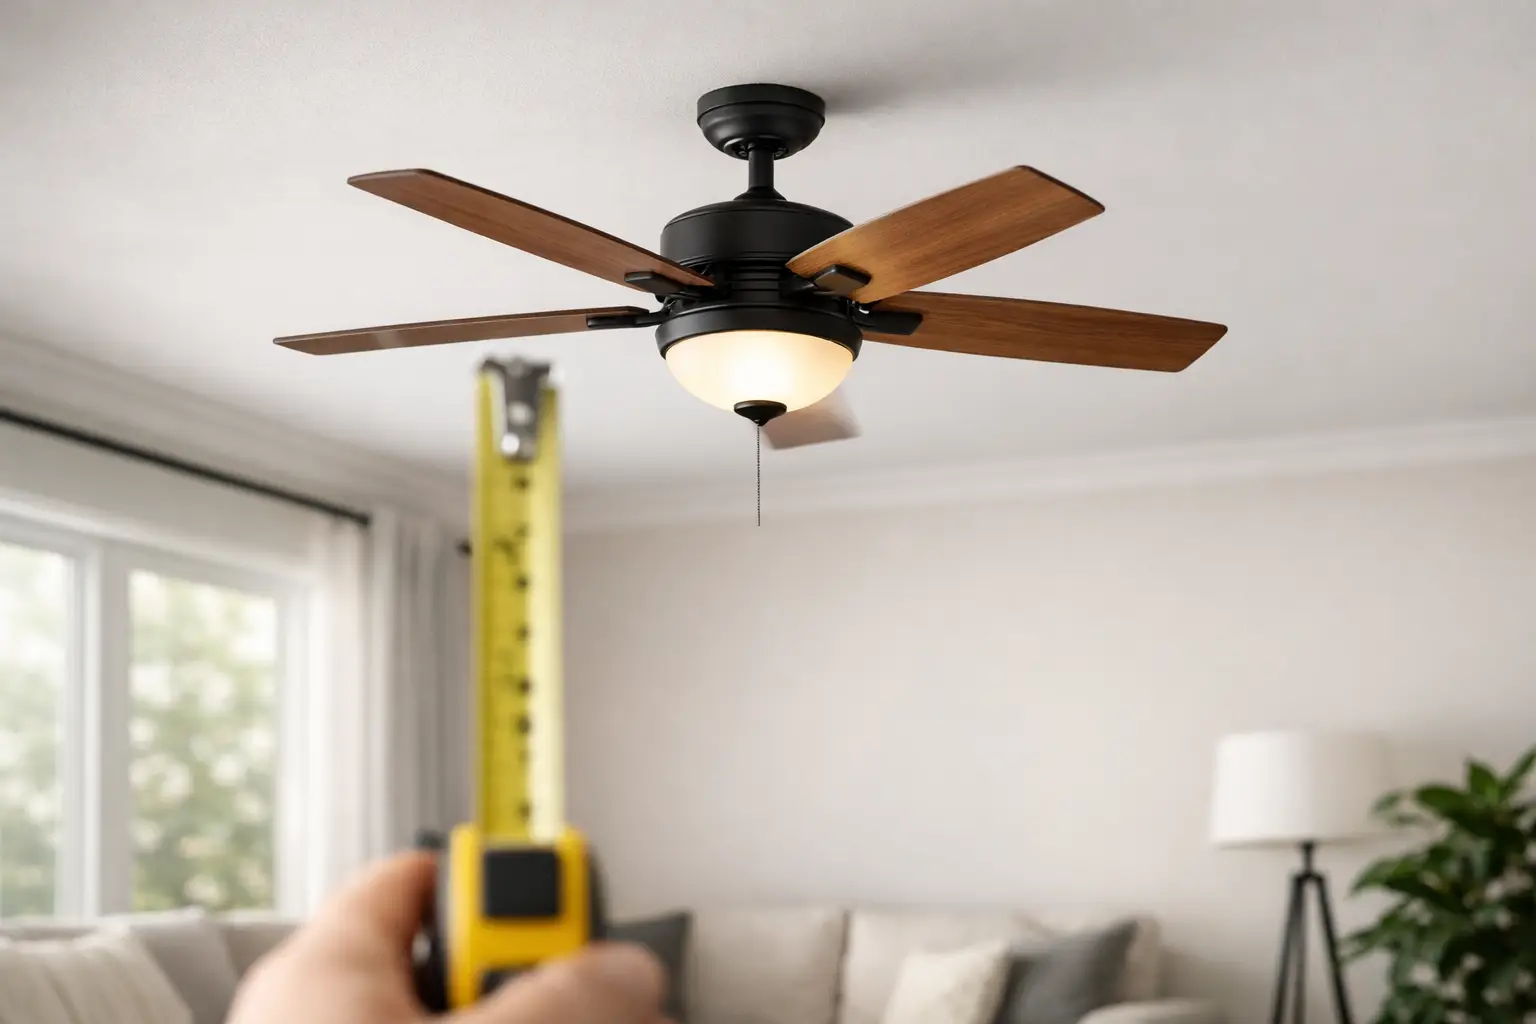
Ceiling fans as part of the layout
In split levels with warm upper floors and cooler lower levels, ceiling fans can do more than finish the room. They support comfort stratification and reduce pressure on the HVAC system, especially in remodels with mixed insulation performance.
For flippers and builders, the right fan-light combo can simplify the ceiling plan. One well-scaled fan with integrated LED can replace a cluster of fixtures in secondary living areas or bedrooms. Just check mounting height and blade clearance carefully, especially where split-level rooflines create low or angled ceilings.
Lower levels need more intentional light than you think
The lower family room or den is where split-level homes usually lose appeal. Even after cosmetic updates, these spaces often feel like basement spillover because daylight is limited and ceilings can be lower.
This is the place to avoid a single center fixture. Use a perimeter-oriented plan instead. Recessed lights placed too close to the center of the room leave corners dull and walls visually dead. Pull the light outward so vertical surfaces read brighter. That makes the room feel larger and improves camera performance for listing photos.
If the lower level includes a media area, use dimmable circuits and leave room for lamp or sconce layers. Full ambient brightness is not always the goal. Flexibility is. In a family room staged for resale, buyers should be able to picture movie night, a play area, or a home office without the lighting fighting all three uses.
Fixture specs that save time and callbacks
A strong lighting layout guide for split level remodels is not only about placement. It is also about choosing fixtures that reduce friction during install and after close.
Integrated LED fixtures help cut maintenance and keep color consistency tighter across levels. Five-inch or four-inch recessed fixtures often look better than oversized trims in homes with lower ceilings. Matte black, warm brass, and clean white finishes continue to perform well because they bridge investor-grade flips and designer-led renovations without feeling too trend-heavy.
Prioritize dimmers in the public zones. If the budget is tight, spec them at the entry, kitchen, dining area, living room, and lower-level family room first. That gives the end user better control over a floor plan that naturally shifts in brightness during the day.
Smart controls can help, but only when they solve a real use case. In many split levels, simple multi-location dimming at stairs and halls adds more value than app-heavy systems that confuse buyers or create punch-list issues.
Common layout mistakes to avoid
The biggest mistake is treating the split level like a standard two-story. The second is over-lighting circulation while under-lighting destination spaces. The third is ignoring the view from one level into another.
Also watch for fixture stacking. A pendant visible from the entry, another over the stair void, and a chandelier beyond can create visual clutter fast. In these homes, fewer decorative statements usually read more expensive.
Finally, do not spec by fixture count alone. A lower-level den may need fewer fixtures than an upper kitchen, but it often needs more deliberate placement to feel finished.
What to do on your next project
Start with the stairs, not the showroom. Walk the house at the times of day when natural light drops off, then map where the eye loses continuity. Build the lighting plan around those breaks first. After that, layer in task lighting, decorative fixtures, and fan-light combinations that fit the ceiling conditions and the project budget.
If you’re sourcing for multiple project types, keep a short list of reliable fixture families and fan options that work across low ceilings, transitional styles, and investor-grade budgets. That kind of repeatable spec saves time and protects margins. For more project-focused design guidance, Hudson Valley Review is built around that exact goal.
The split-level remodel that sells fastest usually is not the one with the most fixtures. It is the one where every level feels connected the moment someone walks in.


Leave a Reply