
A flip can look freshly renovated in person and still fall flat online if the lighting reads yellow, spotty, or harsh. Buyers decide how “new” a home feels in the first 10 photos – and lighting is doing more work than the countertops.
This is a practical, jobsite-ready real estate flip lighting checklist built for builders, designers, and investors who want fewer change orders, clean inspections, and better listing performance. Use it at three moments: pre-demo planning, rough-in, and final punch.
Start with outcomes, not fixtures
Lighting decisions move faster when the team agrees on outcomes. For flips, the outcomes are consistent: bright but not clinical, flattering on camera, durable for tenant turnover (even if you plan to sell), and simple to maintain.
That means you’re not “picking pretty pendants.” You’re building a repeatable spec: color temperature targets, lumen ranges by room, and a fixture family that won’t get backordered mid-project.
Real estate flip lighting checklist: pre-demo and budgeting
Before you open walls, set the spec rules. This is where most flips either gain speed or rack up delays.
Map the home’s lighting layers
Every room needs a plan for ambient (general), task (work), and accent (optional). Many flips try to do everything with a single ceiling light. That reads like a rental, even with premium finishes.
Use ambient to remove shadows, task to make the room functional, and accent sparingly to add depth (a fireplace wall, a niche, or kitchen glass uppers). If budget is tight, prioritize ambient plus task in kitchens, baths, laundry, and any office nook.
Standardize color temperature and color quality
A consistent Kelvin strategy is one of the cheapest “high-end” moves you can make.
For most flips, 2700K to 3000K is the sweet spot. It feels warm and residential, and it plays well with wood tones and painted trim. Reserve 3500K only if the home’s palette is cool and modern, and keep it consistent across open-concept spaces.
Also spec for color quality. Look for LEDs with a CRI of 90+ in kitchens, baths, and main living areas. Lower CRI can make whites look dingy and skin tones look off in listing photos. It’s not always visible to the naked eye, but cameras pick it up.
Set lumen targets so rooms don’t photograph dim
You don’t need engineering software for a flip, but you do need baseline lumen targets so you’re not guessing.
As a rule of thumb, living rooms and bedrooms typically land well around 10-20 lumens per square foot, kitchens around 30-40, and bathrooms around 20-30 (with strong vanity task lighting). Ceiling height, wall color, and window exposure change the math, so treat these as starting points. Dark paint, matte finishes, and low daylight need more output.
Decide early: recessed lights or center fixtures
Recessed lighting can clean up a ceiling and modernize a home fast. It can also create a “runway” look if it’s overused or poorly spaced.
If the house has average ceiling heights and you’re keeping a simple trim package, a hybrid plan often wins: recessed for kitchens, halls, and living areas, with a strong decorative fixture in the dining area and entry. Bedrooms can go either way – a central fixture is faster, while recessed plus a fan is a comfort upgrade in many markets.
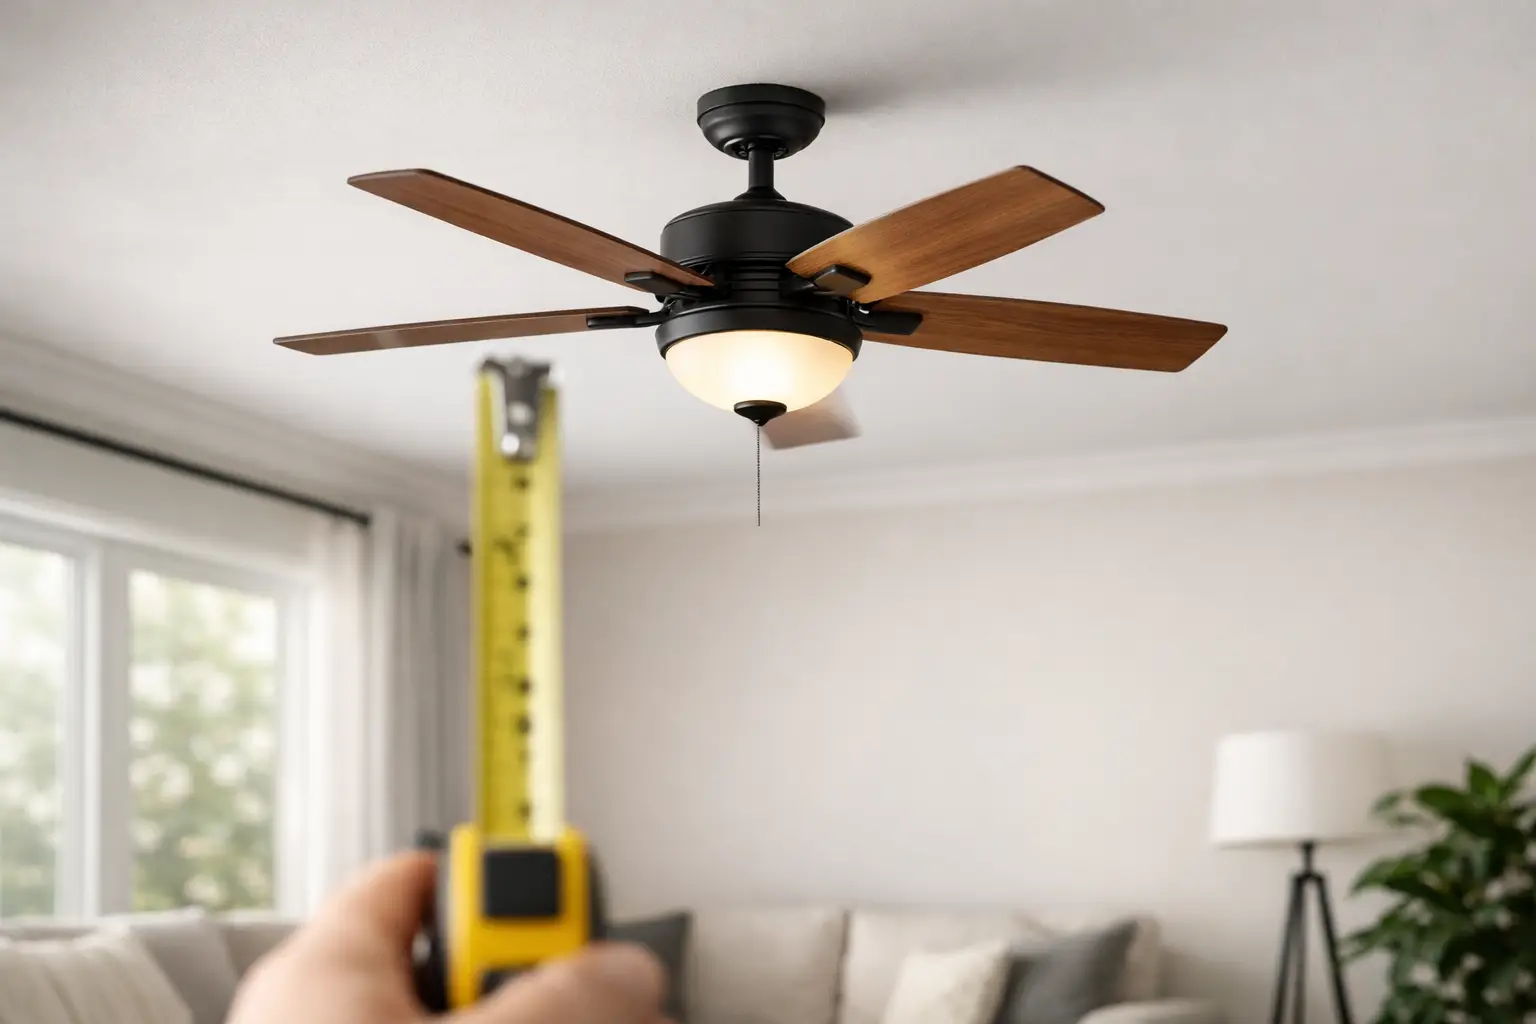
Check fan opportunities where they add real ROI
Ceiling fans are not just comfort. They’re perceived value, especially in warm or humid regions, sunrooms, bonus rooms, and high-ceiling spaces where HVAC struggles.
If you’re deciding where to spend, prioritize fans in primary bedrooms, main living rooms, and any room with vaulted ceilings. Keep the style aligned with your lighting metals so it reads intentional, not like an afterthought.
Lock fixture availability and lead times
Nothing burns schedule like a backordered vanity light discovered a week before listing photos.
Choose fixture families that are consistently available in contractor quantities. If you’re flipping multiple properties, repeatable SKUs reduce mistakes and make your electrician faster.
Rough-in and layout: where flips win or lose time
Once walls are open, the goal is to eliminate awkward switch locations, dark corners, and last-minute drywall patches.
Place switches where people actually enter
Walk the path from garage to kitchen, front door to main hall, and bedroom to bath. Switch placement should match those routes.
If you’re upgrading, consider 3-way switching for main halls and stairs. It’s a small cost that reads like “new construction thinking” and reduces daily friction for buyers.
Avoid the most common recessed mistakes
Recessed lights should be spaced based on ceiling height and beam spread, not by “lining them up.” In living rooms, too many cans flatten the space and create glare on TVs. In kitchens, cans that miss the countertop create shadows right where you prep food.
A reliable approach is to align kitchen recessed lights with the front edge of counters so the light lands on the work surface, not behind the cook. In living areas, fewer fixtures with better placement usually outperform a grid.
Build in vanity lighting that flatters faces
Bathrooms sell. Vanity lighting is where many flips miss.
If you can, use vertical sconces on both sides of the mirror. It reduces shadows on faces and reads more premium than a single bar light. If the layout forces an above-mirror fixture, choose one with good diffusion and adequate output, and keep it centered.
Also plan for a separate shower or toilet light when possible. Buyers notice when the whole bath has to be lit like an interrogation room just to use the toilet.
Don’t forget the “boring” rooms
Laundry, pantry, closets, and mechanical areas don’t need decorative fixtures, but they do need bright, even light. Dim closets make a home feel smaller. A simple LED surface mount in 3000K can make these spaces feel intentional.
For garages, brighter is better. It signals utility and cleanliness, and it helps inspectors and buyers.
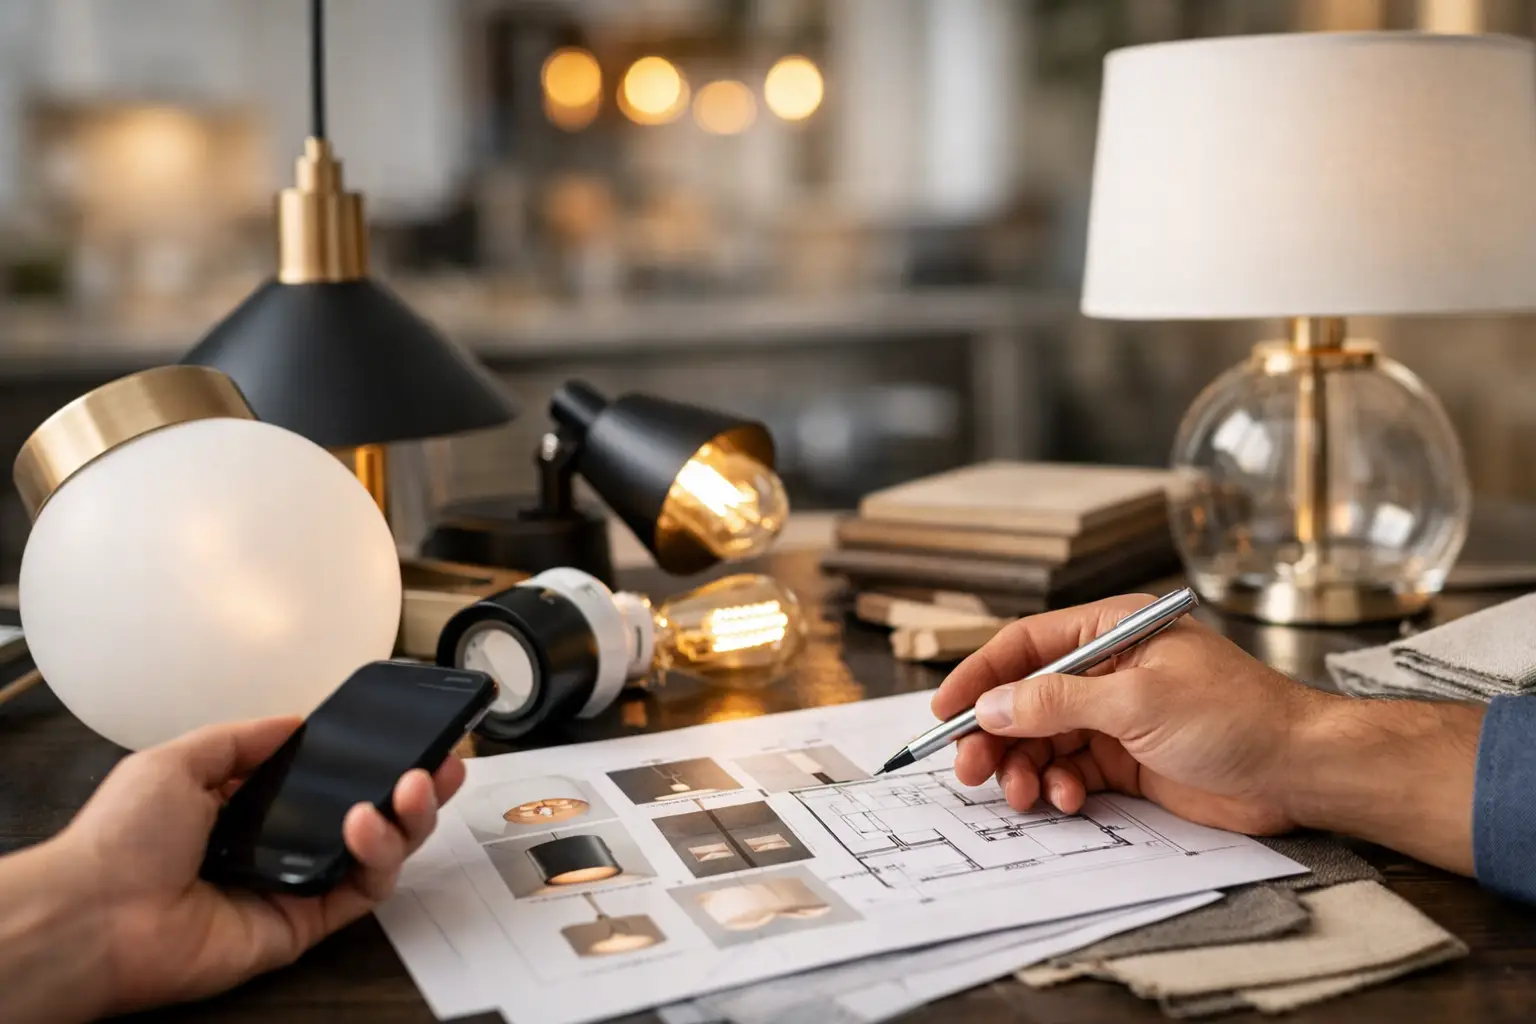
Fixture spec: what to choose and what to avoid
This is where design and ROI meet. The goal is cohesive, durable, and camera-friendly.
Keep finishes tight across the home
Two finishes max in most flips. Three only if the home is large and the design is disciplined.
Matte black, satin/brushed nickel, and warm brass are common winners, but the “right” choice depends on surrounding elements. If door hardware is satin nickel, random black fixtures can look like value-engineering. If you’re going modern, commit and carry the finish through lighting, plumbing, and cabinet hardware.
Choose fixtures that hide cheap bulbs
Exposed bulbs can look great, but only if you’re controlling bulb type and color. In flips, exposed bulbs often become mismatched after a showing, a staging swap, or a rushed final day.
Diffused lenses, frosted glass, and integrated LED fixtures reduce the chance of visible bulb inconsistency. The trade-off is serviceability: integrated LEDs eventually fail. For rentals, serviceability matters more; for a flip sale, a quality integrated fixture can be a clean, modern solution.
Spec dimmers where they matter
Dimmers are a perceived luxury and a staging tool. Put them in main living areas, primary bedroom, and dining. In kitchens, dimming can be helpful for evening ambience, but make sure the LED driver is compatible to avoid flicker.
For baths, consider separate controls: one for vanity, one for exhaust fan, one for shower/toilet. It’s not always possible in small bathrooms, but even splitting vanity from exhaust makes the space feel higher end.
Pay attention to glare and “hot spots”
Clear glass pendants over an island can cause glare when the bulbs are in your line of sight. That’s a comfort issue in person and a photo issue online.
If you love the look, choose bulbs with lower glare, use shades that conceal the lamp, or hang pendants at a height that keeps the light source out of eye level. Over islands, consistency matters – same pendant size, same height, centered to the island, and not fighting the hood.
Inspection and install details that prevent punch-list pain
A lighting upgrade can trigger small code and safety issues if the details are sloppy.
Confirm wet and damp ratings
Bathrooms, covered porches, and exterior locations need fixtures rated for the environment. This is a fast way to avoid last-minute swaps when an inspector flags a location.
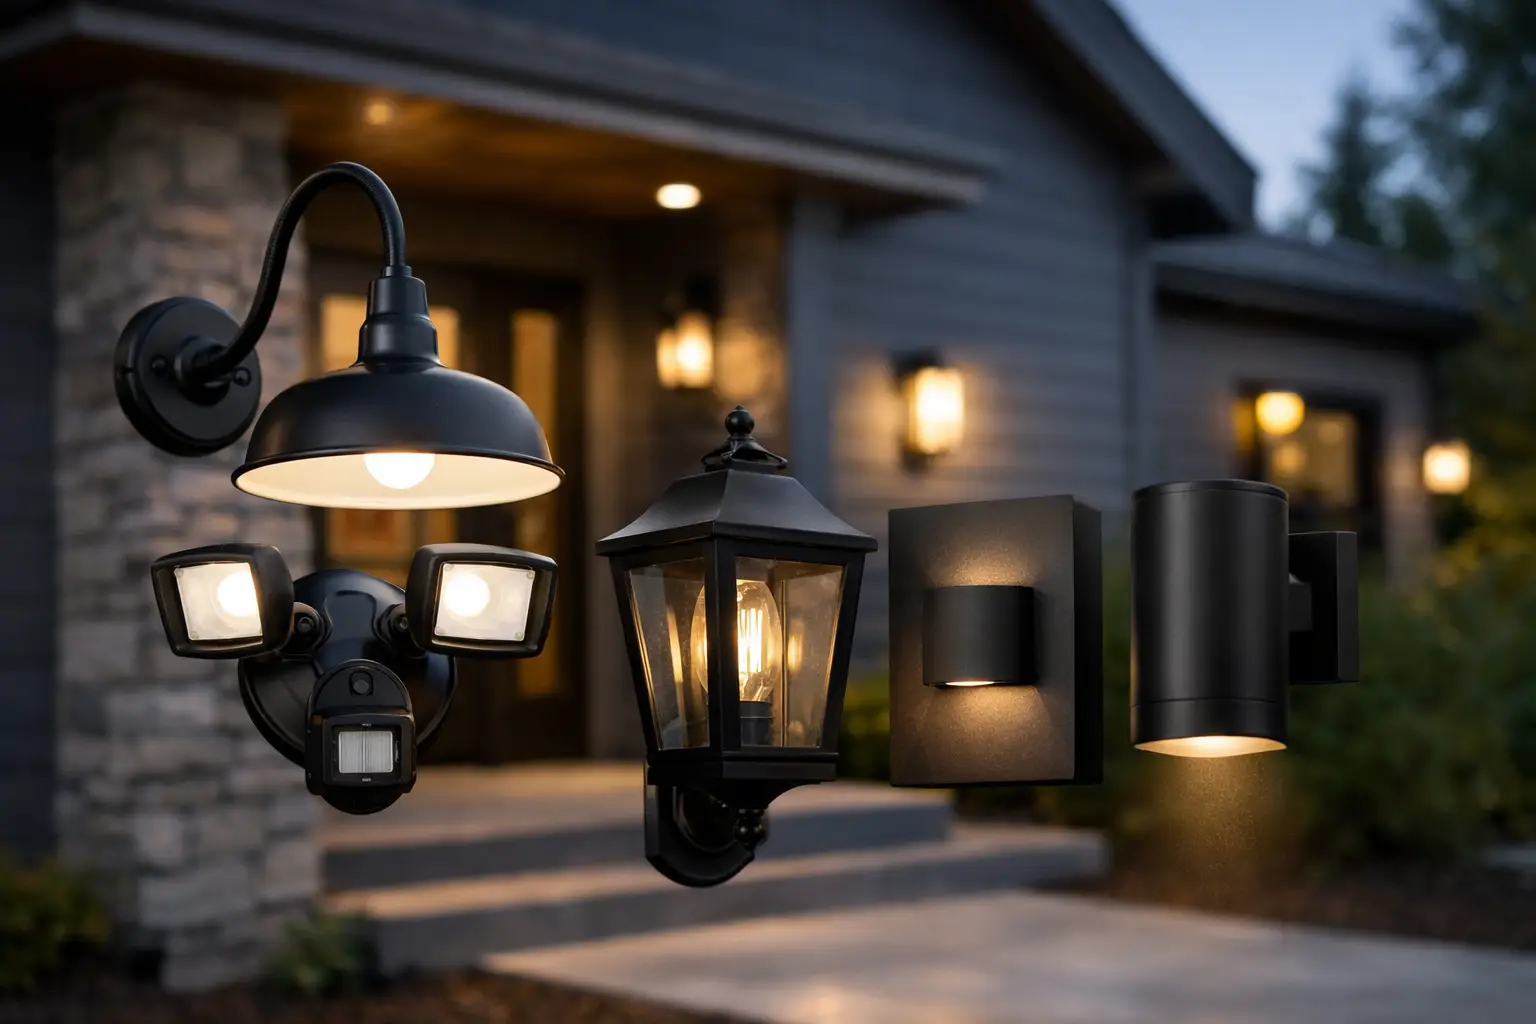
Use the right exterior lighting strategy
Exterior lighting is curb appeal and safety. Buyers want a bright, welcoming entry and a home that feels secure.
At minimum, plan a layered exterior: a strong front porch/entry light, garage lights if applicable, and a rear light at any patio or deck door. Motion sensors can help, but they can also annoy during showings if they blast on too aggressively. If you use them, aim for adjustable sensitivity and warm color temperature.
Don’t ignore smoke and CO requirements
Many jurisdictions require hardwired, interconnected smoke alarms and CO alarms depending on fuel sources and attached garages. If you’re already touching electrical, it’s smart to verify requirements early so you’re not opening ceilings after paint.
Final walk and staging: make the light read “new”
The last 5 percent is where your listing photos are made.
Match bulbs when fixtures are not integrated
If you used replaceable bulbs anywhere, standardize them. Same brand, same Kelvin, same brightness. Mixed bulbs are one of the most common reasons a flip looks “patched together” on camera.
Aim and test at night, not just midday
Do a night test with all lights on. You’re looking for dark corners, glare in mirrors, and rooms that feel uneven. This is when you’ll catch that recessed light that lands on the TV, or that vanity bar that creates harsh shadows.
Clean lenses, glass, and trim
Dusty recessed trims and smudged glass read immediately in photos, especially in bathrooms and kitchens. It’s a quick fix that protects your investment.
A repeatable spec is your real advantage
The teams that flip fastest aren’t reinventing lighting every project. They have a house playbook: a small set of trusted fixture styles, a consistent Kelvin target, and layouts that electricians can rough-in without constant questions.
If you want to tighten your next spec, build your “A package” and “B package” now, then reuse them. And if you need a single reference point for your lighting and fan decisions, Hudson Valley Review (https://hudson-valley-review.com/) is built for pros who want practical specs, not design theater.
The most profitable flips aren’t the ones with the fanciest pendants – they’re the ones where every room looks intentional at 7 p.m. during a showing, and the photos feel bright, clean, and consistent without editing gymnastics.


Leave a Reply