
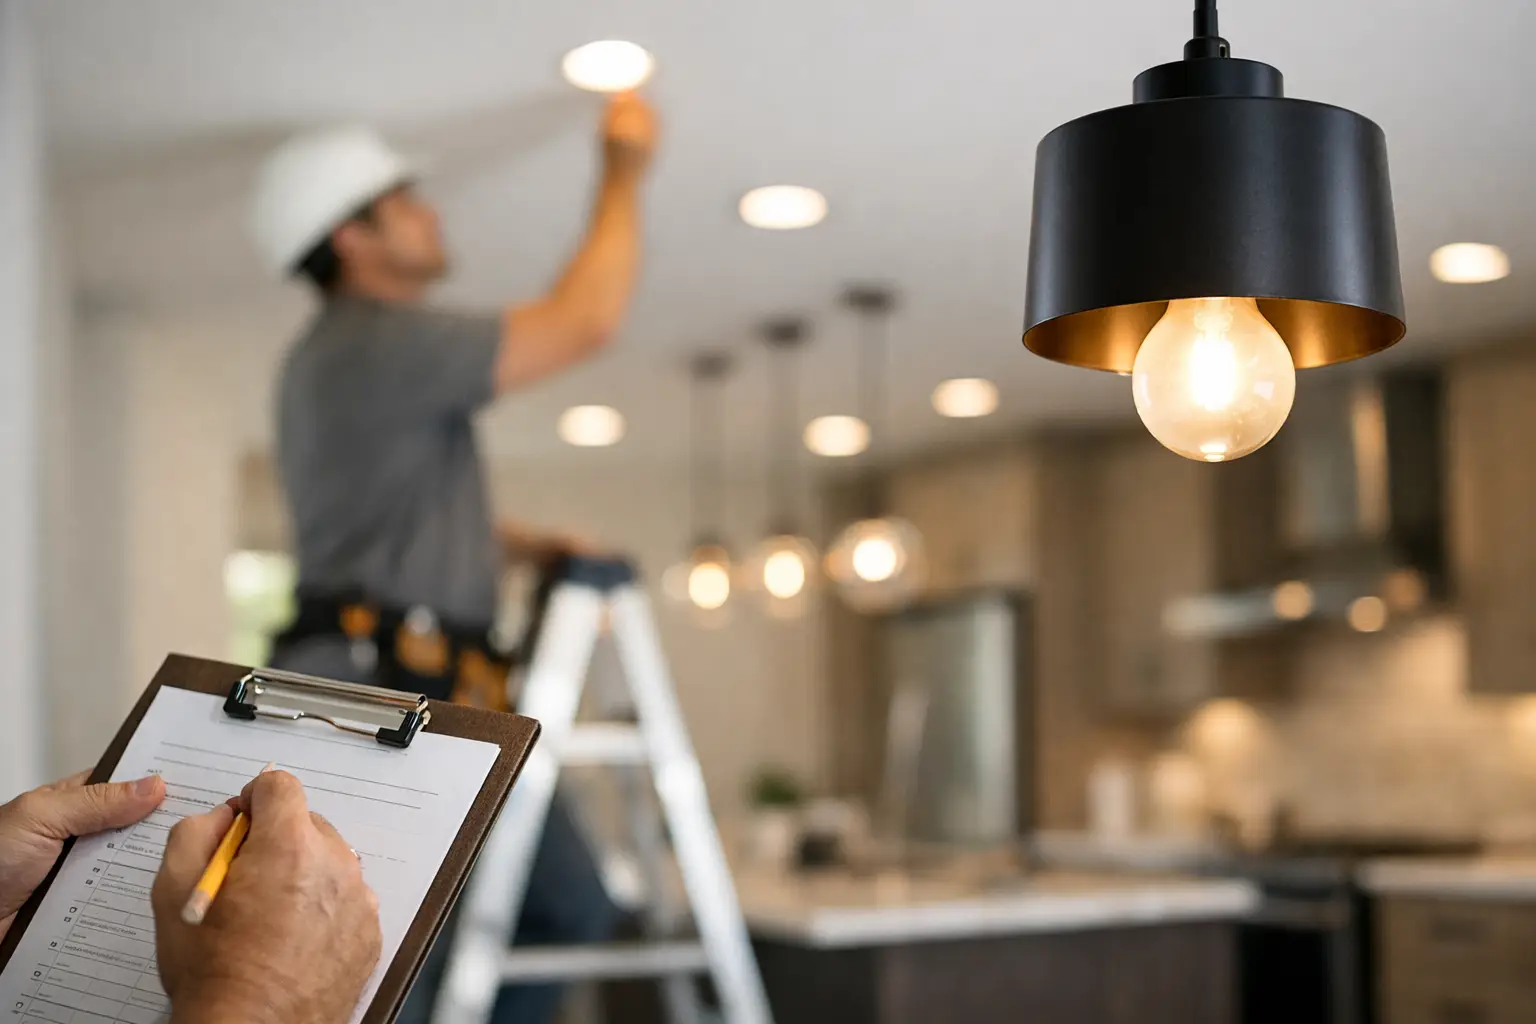
A kitchen can look expensive on paper and still fail at walkthrough if the lighting is weak. That usually happens when a remodel gets judged by fixture count instead of usable light. If you’re asking how many lumens for kitchen remodel lighting, the right answer is rarely a single number. It depends on kitchen size, ceiling height, finish colors, task zones, and whether the project is a custom client home, a rental upgrade, or a fast flip.
For builders, designers, and investors, lumen planning is less about theory and more about performance. You want enough light for prep, cleanup, and staging photos without creating glare, shadow lines, or an overlit ceiling that feels clinical. The best specs balance function, visual warmth, and install efficiency.
How many lumens for kitchen remodel lighting? Start with the room, not the fixture
A practical target for a full kitchen is usually 5,000 to 10,000 total lumens. Small kitchens may land near the low end. Large open-concept kitchens with islands, dark cabinetry, or higher ceilings often need more. That range works because kitchens are task-heavy spaces, not ambient-only rooms.
A fast planning method is to start with foot-candles, then convert to lumens. Most kitchens perform well at about 30 to 40 foot-candles for general lighting, while prep surfaces and task zones often need 50 to 75 foot-candles. Since one foot-candle equals one lumen per square foot, a 150-square-foot kitchen generally needs around 4,500 to 6,000 lumens for broad ambient coverage before adding stronger task lighting at counters, sinks, and islands.
That distinction matters. If you try to light the entire kitchen to task level from overhead cans alone, the space can feel harsh and flat. If you underlight the room and rely on decorative pendants, it looks polished in renderings but works poorly in real use.
Why kitchen lumen targets vary more than most remodel budgets assume
Two kitchens with the same square footage can need very different lumen packages. Surface reflectivity is a big reason. White shaker cabinets, pale quartz, and a satin backsplash bounce light well, so you can often hit the same perceived brightness with fewer lumens. Walnut cabinets, charcoal flooring, matte black finishes, and dramatic stone absorb more light and usually require a bump in output.
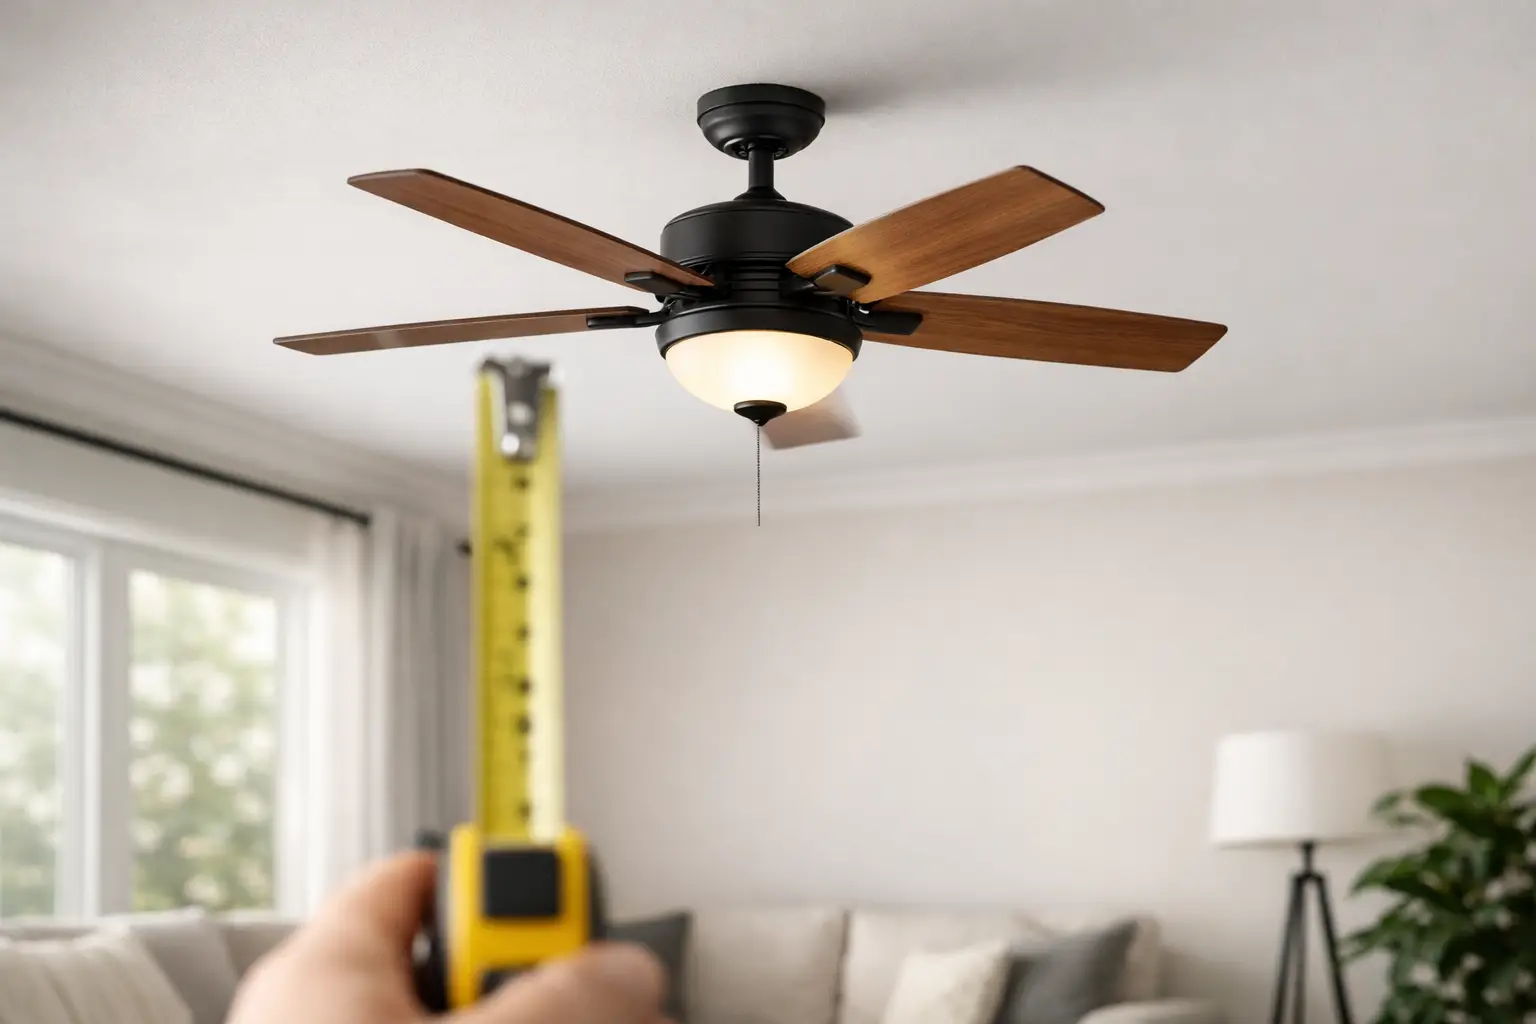
Ceiling height also changes the spec. In an 8-foot kitchen, standard recessed spacing and moderate output often work fine. In 10- or 12-foot spaces, light disperses before it reaches work surfaces, so the room may need more fixtures, tighter spacing, higher-lumen trims, or a better layered scheme.
Then there is layout. A closed kitchen with continuous upper cabinets creates different shadow behavior than an open kitchen with floating shelves and a large island. Remodelers who skip that analysis often solve problems late with brighter bulbs, which usually creates new ones.
A practical lumen breakdown by kitchen zone
For most remodels, the cleanest approach is to layer light by function.
General ambient lighting
This is your base layer, usually delivered by recessed lighting, flush mounts, or a mix of both. Aim for enough even coverage that the room feels bright before task lights come on. In many mid-size kitchens, that means roughly 3,000 to 5,000 lumens in ambient output.
If the kitchen opens into a family room, resist the urge to let adjoining fixtures do all the work. Buyers and clients notice when the kitchen itself lacks definition. A well-lit kitchen photographs better, feels cleaner, and supports better color rendering on finishes.
Task lighting at counters and sink walls
This is where work actually happens, and where many remodels underperform. Under-cabinet lighting is often the highest-value add in the whole package because it puts light directly on prep surfaces instead of behind the user. A solid target is about 200 to 500 lumens per linear foot of countertop task zone, depending on mounting height, lens quality, and finish reflectance.
Sink areas deserve special attention. A sink under a window may look naturally bright by day but still be dim at night. Give that zone dedicated coverage from a recessed downlight, a well-placed pendant, or under-cabinet continuation if the layout allows.
Island lighting
Islands are workstations, staging surfaces, and social hubs, so they need both visual presence and usable light. As a rule of thumb, target 600 to 1,200 lumens per pendant if pendants are expected to contribute meaningful illumination, not just decorative sparkle. Then confirm that surrounding recessed lights fill any gaps.
The common mistake is specifying oversized pendants with low-output lamps. They look substantial but leave the countertop dim. If the island is a prep zone, not just a landing spot, lumen performance matters as much as fixture scale.
Lumen targets by kitchen size
These ranges are practical starting points, not rigid rules.
Small kitchens under 100 square feet
Plan for roughly 3,000 to 5,000 total lumens. If finishes are dark or the layout is enclosed, push higher. In compact kitchens, fewer fixtures with better placement usually outperform a crowded ceiling plan.
Mid-size kitchens from 100 to 200 square feet
A typical target is 5,000 to 8,000 total lumens. This covers most standard remodels with recessed ambient light, under-cabinet strips, and pendants over an island or peninsula.
Large kitchens over 200 square feet
Expect 8,000 to 12,000 or more total lumens, especially in open plans with tall ceilings. At this scale, layering is non-negotiable. One fixture type will not carry the room well.
What builders and designers should spec beyond lumens
Lumens tell you output, but they do not tell you quality. For kitchens, color temperature and color rendering matter just as much.
For most remodels, 2700K to 3000K is the safe zone. It keeps the kitchen warm enough for residential appeal while still reading clean and bright. Many pros land at 3000K because it works well across flips, new builds, and design-forward renovations. Cooler temperatures can make white kitchens feel sterile, while overly warm lamps may muddy stone and paint colors.
Also look for CRI 90 or higher. High color rendering helps cabinetry, food, tile, and countertop materials read correctly. That is useful during client presentations and even more useful for listing photography.
Dimming is another smart spec, not a luxury. A kitchen needs brighter settings for prep and cleanup, then softer levels for dining and evening showings. If budget forces trade-offs, prioritize dimmable main fixtures and under-cabinet lighting before decorative extras.
The remodel mistakes that lead to bad kitchen lighting
The first mistake is using wattage as a proxy for brightness. Modern LED packages vary too much for that to work. Spec by lumens, beam spread, and application.
The second is treating recessed cans as a grid exercise. Even spacing may look organized on a reflected ceiling plan, but cabinets, tall pantry walls, range hoods, and islands change how light actually lands. Place fixtures for surfaces and circulation, not just symmetry.
Third, many projects skip under-cabinet lighting to save money. On paper, it looks optional. In real use, it often does more for kitchen function than an extra decorative pendant. For flips and investor projects, this is one of the cleaner ROI upgrades because buyers notice it immediately.
Fourth, some remodels overshoot brightness in glossy kitchens. High-output downlights reflecting off polished stone and shiny backsplash tile can create glare and visual fatigue. More lumens are not always better. Better placement usually wins.
A smart spec strategy for remodel ROI
If the project goal is broad market appeal, build the lighting plan around three priorities: bright counters, even ambient coverage, and flexible dimming. That combination supports daily use and also helps a finished kitchen show larger, cleaner, and more premium.
For higher-end designer projects, you can push the layering further with statement pendants, cove effects, or accent lighting inside glass cabinets. Just make sure the decorative layer is built on a strong functional base. Good-looking fixtures cannot rescue a kitchen that feels dim at the cutting board.
For builder-grade renovations or tight-margin flips, keep the spec disciplined. Use efficient recessed LED downlights for ambient, continuous under-cabinet LED for tasks, and pendants only where they add value. This keeps install straightforward and protects budget without making the kitchen feel stripped down.
If you are sourcing options for upcoming projects, the lighting coverage at https://hudson-valley-review.com/ can help narrow practical fixture choices faster.
The fastest way to answer how many lumens for kitchen remodel lighting on your next project
Start with square footage. Add a base ambient target of about 30 to 40 lumens per square foot, then layer stronger task lighting where hands actually work. Increase output for dark finishes, high ceilings, and large open plans. Moderate it for bright surfaces and compact layouts with good natural light.
That method is simple enough for fast estimating and accurate enough to avoid the two most expensive outcomes – a kitchen that needs change orders after install, or one that looks finished but never feels right when the lights come on. Spec the room for how it will be used, not just how it will be photographed, and the remodel will perform better long after closing day.


Leave a Reply