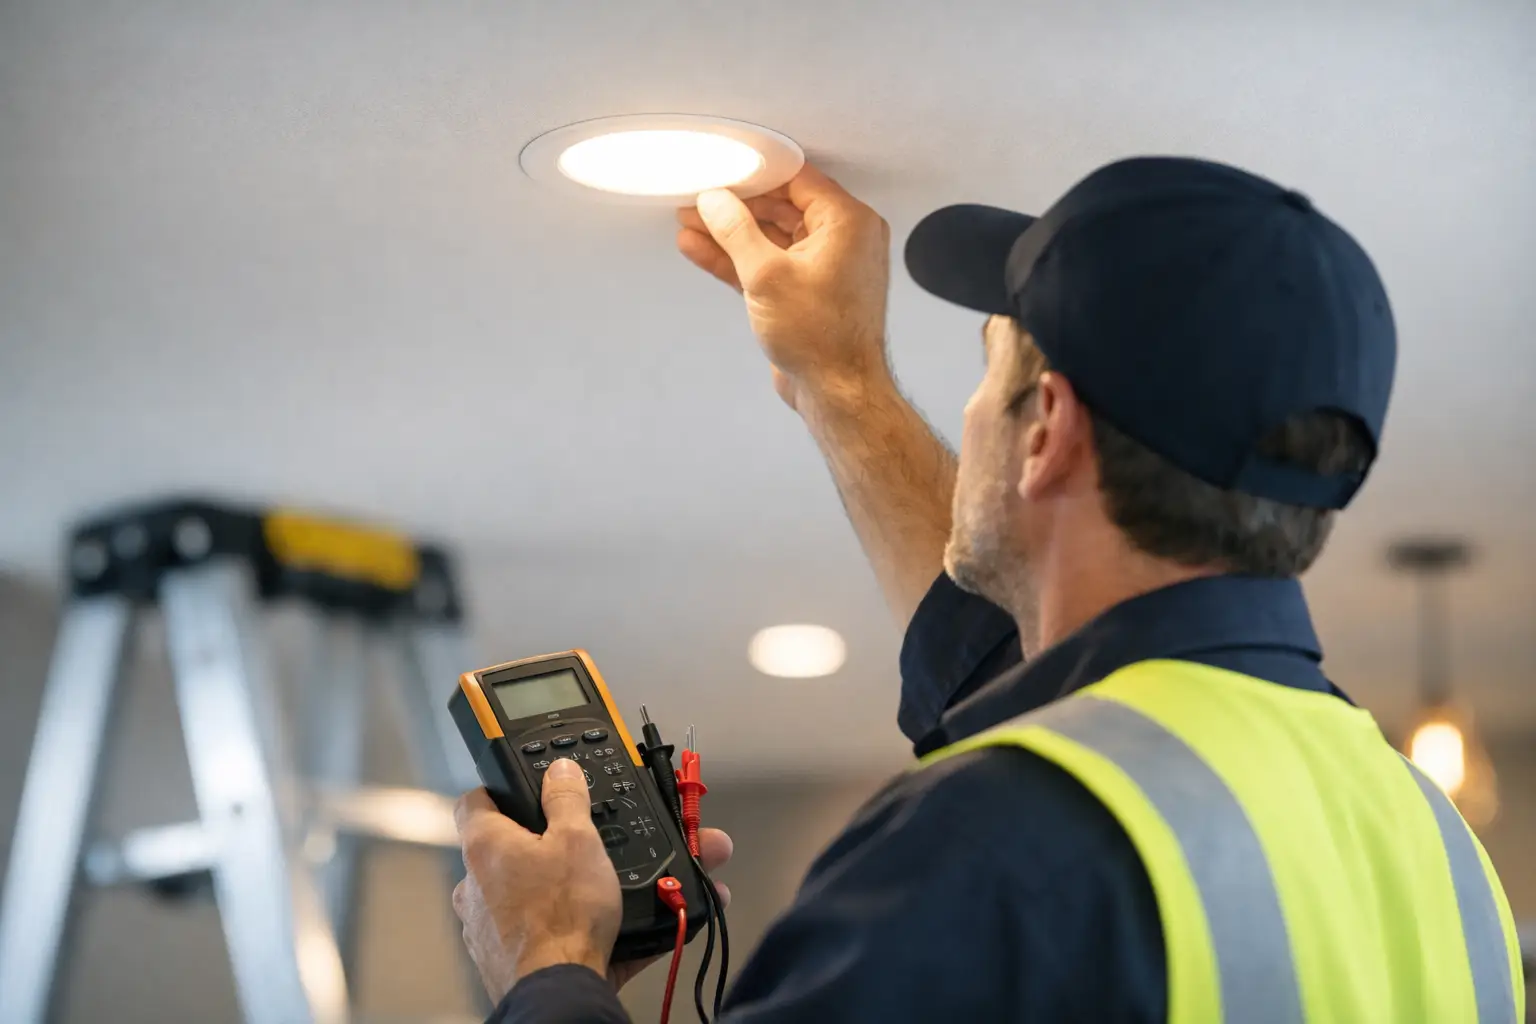
A lighting callback rarely shows up as “just one quick fix.” It shows up as a burned hour for your electrician, a delayed punch list, a frustrated client, and a tighter margin than you planned. If you’re looking at how to reduce lighting install callbacks, the answer usually is not one better fixture. It’s a tighter process from spec to final walkthrough.
For builders, designers, and investors, callbacks are expensive because they compound. A loose canopy becomes a return trip. A dimmer compatibility issue turns into troubleshooting. A fixture that looked great online but arrived with vague instructions can stall an otherwise clean install day. The good news is that most lighting callbacks are predictable, which means they are preventable.
Why lighting callbacks happen in the first place
Most callbacks trace back to one of four failure points: bad product fit, incomplete site prep, mismatched controls, or unclear handoff between design and field teams. The fixture itself is only part of the story.
A designer may specify a statement pendant with a large canopy, but if the junction box placement is off-center and no one catches it before trim-out, the install gets messy fast. A contractor may install exactly what was ordered, but if the lamping, driver, or dimmer was never confirmed, flicker becomes someone else’s problem after move-in. Investors run into a different version of the same issue – buying for price first, then paying more later in labor and replacements.
That is why the lowest callback rate usually comes from teams that treat lighting as a systems decision, not a finish decision.
How to reduce lighting install callbacks at the spec stage
The cleanest install starts long before the electrician opens a box. Spec discipline is where time savings actually show up.
Specify for the room, not just the look
A fixture can be visually right and operationally wrong. Large dining pendants need enough stem options for varying ceiling heights. Vanity lights need enough backplate coverage to hide rough-in imperfections. Foyer fixtures need realistic service access if bulbs or drivers will ever need replacement.
This is where builders and designers often save themselves a second trip. Ask a simple question during selection: what could make this fixture annoying to install in a real jobsite condition? If the answer is fragile glass, unclear assembly, unusual mounting hardware, or a finicky integrated LED system, the labor risk may outweigh the aesthetic upside.
For flips and value-driven renovations, that trade-off matters. A fixture that installs 20 minutes faster and has fewer compatibility issues often delivers better ROI than a trend-forward piece that looks slightly more custom on paper.
Confirm dimensions against field conditions
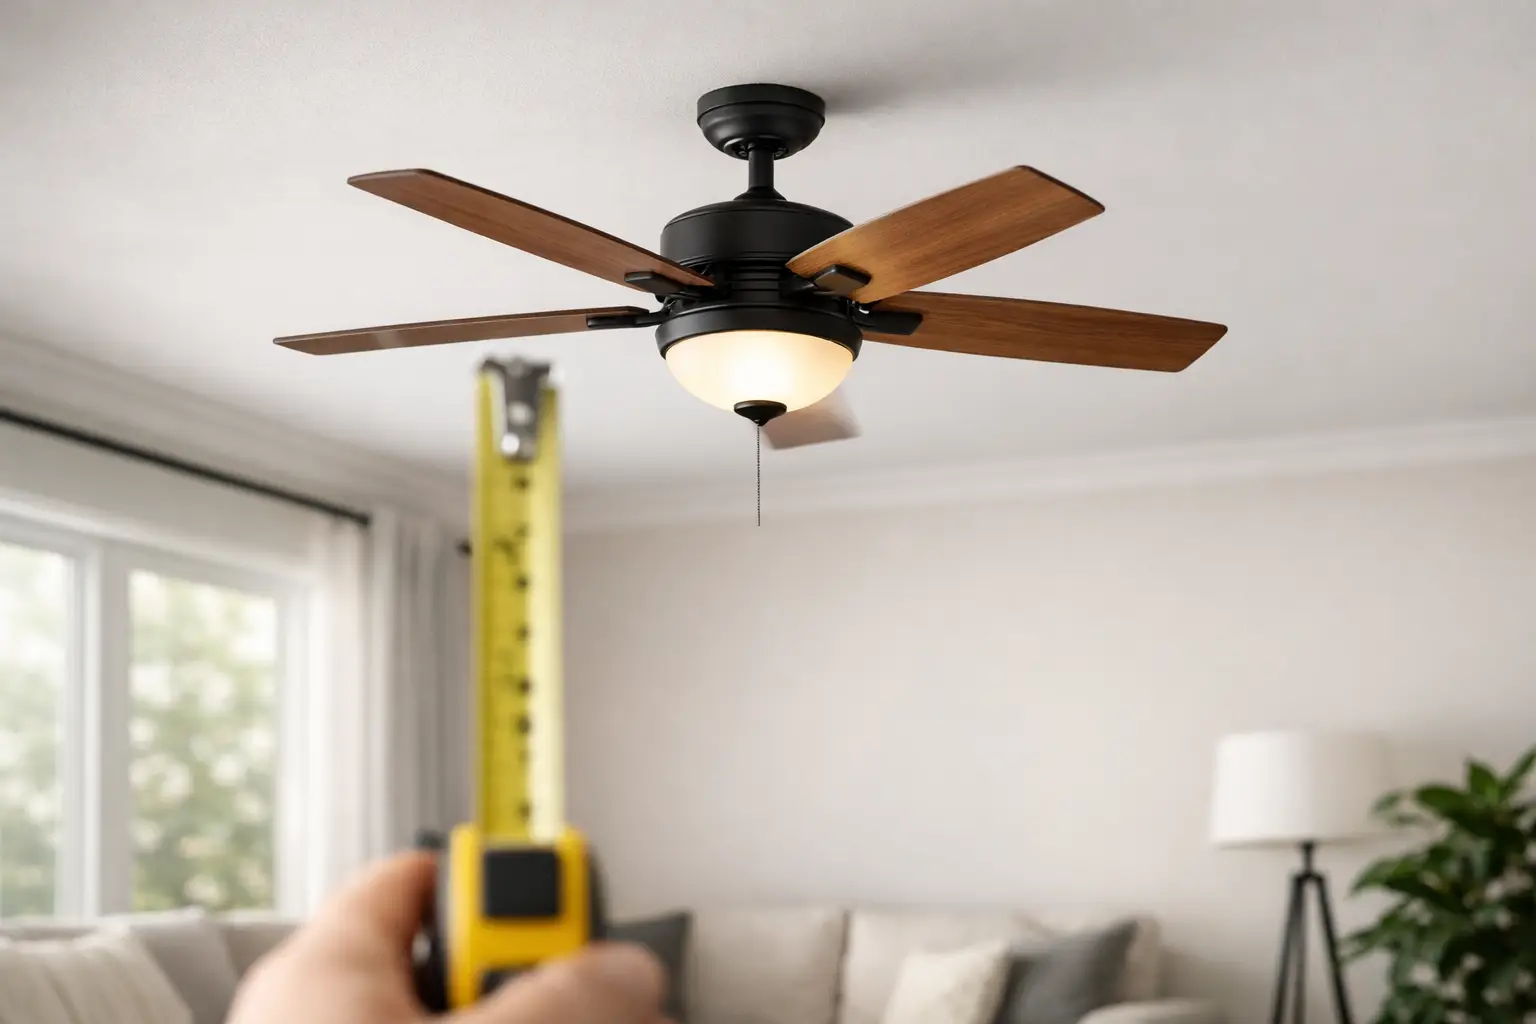
Callbacks love measurement assumptions. Confirm fixture drop, canopy size, wall projection, and required clearance before ordering. This matters most in stairwells, islands, bathrooms, and low-ceiling bedrooms where a small spec miss creates a visible problem.
It also helps to verify whether the existing electrical box location supports the intended layout. If a two-light vanity bar is replacing a centered single sconce setup, make sure the plate covers what is already in the wall. If not, the install can quickly turn into patch, paint, and reschedule.
Standardize dimmers and color temperature
Many post-install complaints are not install errors at all. They are control and light-quality errors that show up after occupancy. The client says the kitchen flickers. The powder room feels too blue. The bedroom fixture hums on low dim.
Set a house standard whenever possible. Choose approved dimmer families, define acceptable Kelvin ranges by room type, and document that standard on the lighting schedule. Warm white may work best in living and bedroom areas, while a cleaner temperature often fits task-heavy kitchens and laundry rooms. What matters most is consistency. Mixed color temperatures create a cheap look and trigger avoidable revisions.
The fixture selection habits that cut return trips
Not every fixture is worth specifying for production work. Some are built for photography, not for field reliability.
Favor install-friendly construction
Fixtures with clearly labeled parts, solid mounting brackets, generous wire compartments, and readable instructions tend to install faster and cleaner. That sounds obvious, but many teams still buy based on finish and price alone.
When sourcing for multiple units or tight timelines, look for repeatable hardware and familiar assembly methods. Electricians move quicker when every vanity, flush mount, or pendant in the project follows a similar logic. Standardization is not boring – it is profitable.
Be careful with integrated LEDs
Integrated LED fixtures can look sharp and reduce maintenance in the short term, but quality varies widely. A low-grade integrated unit may create future headaches if the driver fails and replacement parts are hard to source. In a flip, that may not matter if turnover is immediate. In a builder-grade home or designer-led renovation where reputation matters, it often does.
There is no universal rule here. Integrated LEDs can be the right call for modern profiles and energy targets. Just make sure lead times, warranty support, and replacement practicality are part of the decision.
Don’t ignore packaging and finish durability
A surprising number of callbacks start with damaged glass, scratched finishes, or missing mounting parts discovered too late. Reliable packaging matters, especially on larger orders or multi-phase projects.
For rentals, flips, and high-traffic family homes, finish durability matters just as much. Matte black still performs well in many builder lighting trends, but some lower-cost coatings mark easily during install. A fixture that arrives looking good but cannot survive handling creates hidden labor cost.
Jobsite prep is where good specs still fail
Even well-chosen fixtures create callbacks if the site is not ready for them.
Rough-in accuracy matters more than teams want to admit
Lighting is unforgiving because it sits in plain sight. A box that is slightly off-center over an island reads as a full miss once the pendant is hung. A vanity rough-in set too high can throw off mirror placement and create a rushed correction at the end.
Builders should lock rough-in dimensions early and field-check them before drywall where possible. Designers should provide clear mounting heights, not vague notes. Investors managing fast turns should avoid swapping fixture types late unless they know the existing rough-in supports the change.
Pre-stage and inspect before install day
If you want fewer callbacks, stop treating install day as the first inspection point. Open boxes early. Confirm finishes, glass counts, mounting hardware, stems, shades, and driver components before the electrician is scheduled.
This is especially important on projects with custom or mixed-source packages. A 15-minute warehouse or site check can prevent an expensive half-day delay. Teams that pre-stage fixtures by room also reduce install confusion and cross-placement mistakes.
Communication gaps create expensive “mystery problems”
When a callback happens, the root cause is often unclear ownership. Was it product, spec, installation, or user expectation? That ambiguity costs time.
Give the field a real lighting schedule
A good lighting schedule should do more than list fixture names. It should include location, mounting height, finish, color temperature if relevant, dimmer compatibility, and any special install note worth knowing. If a fixture needs assembly in a particular order or requires support beyond a standard box, write it down.
This is where designers add real value to the field team. A sharper schedule reduces guesswork, and guesswork is where call-backs begin.
Align expectations at walkthrough
Final walkthroughs should include a live lighting check, not just a visual glance. Turn on every fixture. Test every dimmer. Check for flicker, uneven mounting, missing trim, shade alignment, and basic output quality.
For investor projects, this step is especially useful before photography and staging. Lighting flaws that seem minor in person get amplified in listing photos and open-house traffic.
How to reduce lighting install callbacks with a tighter closeout process
The last 5 percent of the project often determines whether the client remembers the finish as polished or frustrating.
Build a short lighting punch protocol into closeout. Verify all lamps match in color temperature, all fixtures are level, all controls are labeled if needed, and all specialty systems have basic user instructions. If a homeowner does not understand how a dimmer, fan light kit, or smart switch works, they may report a problem that is really a handoff failure.
It also pays to keep a record of what was installed by room. That makes future warranty questions easier to solve and helps repeat clients standardize across multiple properties. For teams sourcing often, a vetted fixture list can become a real asset over time. That’s the kind of practical spec discipline Hudson Valley Review tends to spotlight because it protects both labor and finish quality.
The bigger point is simple: reducing callbacks is less about perfection and more about removing preventable uncertainty. Better specs, smarter fixture choices, cleaner rough-in coordination, and a disciplined final check will do more for your margins than any last-minute fix ever will. Spec the next job like your install crew has to live with every decision, because they do.







Leave a Reply