
One unit gets satin nickel pulls, the next gets matte black. The flooring shifts by half a shade between turns. A replacement vanity light arrives with a different color temperature than the last batch. That is usually how margin leaks out of a multifamily project. If you are figuring out how to standardize finishes across units, the goal is not to make every space feel generic. It is to create a repeatable system that protects schedule, reduces ordering mistakes, and keeps the finished product looking intentional.
For builders, designers, and investors, standardization is part design move, part operations move. Done well, it cuts decision fatigue, simplifies maintenance, and helps crews move faster. Done poorly, it can flatten the appeal of a property or lock you into specs that are hard to source six months later. The difference comes down to how you build the finish package.
Why standardizing finishes pays off
The obvious benefit is purchasing efficiency. Fewer finish variations usually mean larger order quantities, better pricing leverage, and less time spent managing substitutions. But the bigger win is consistency in execution. When installers know the exact faucet spread, mounting height, finish, and fixture family from unit to unit, punch lists shrink.
There is also a leasing and resale advantage. Prospective tenants and buyers may not call out the exact cabinet hardware profile, but they notice when a property feels coherent. Consistency reads as quality control. In flips and rental turns, that matters because buyers and renters often make fast judgments based on whether the space feels clean, current, and professionally put together.
The trade-off is that total uniformity can work against you in some asset classes. A luxury condo building may need tiered finish levels. A value-add multifamily renovation may need one core package with a few controlled upgrades. Standardization works best when it is disciplined, not rigid.
How to standardize finishes across units without creating bland spaces
Start with the surfaces and fixtures that drive the most visual impact and the most field coordination. That usually means flooring, wall color, cabinet finish, countertop, plumbing trim, door hardware, lighting, and ceiling fans. If those categories are aligned, the unit will read as consistent even if smaller accessories vary.
The key is to standardize at the system level, not just the product level. Instead of saying, “use black fixtures everywhere,” define exactly what black means in your spec. Is it matte black, flat black, or a brand-specific finish with a slightly warmer undertone? Does every black item need to match exactly, or is close coordination acceptable between trades? That level of precision saves trouble later.
A strong finish standard typically includes a limited palette. In most multifamily, build-to-rent, and flip projects, three core finish families are enough: a primary metal finish, a primary wood tone, and one neutral surface story for counters and paint. The mistake is trying to force five trends into one package. A tighter palette ages better and is easier to replenish.
Build a finish package around replacement reality
The best-looking package on bid day can become a maintenance problem by turnover three. That is why finish selection should start with replacement reality. Ask which items are likely to get damaged, discontinued, or mixed during future repairs. Then spec around that answer.
Flooring is a common example. A distinctive LVP color may look great in a sample board but create headaches if a plank line gets discontinued or a later dye lot shifts noticeably. The safer move is often a proven mid-tone oak look with broad availability and enough variation to hide wear. The same logic applies to paint. One clean, versatile wall color across all units makes touch-ups easier and reduces the chance of room-to-room drift.
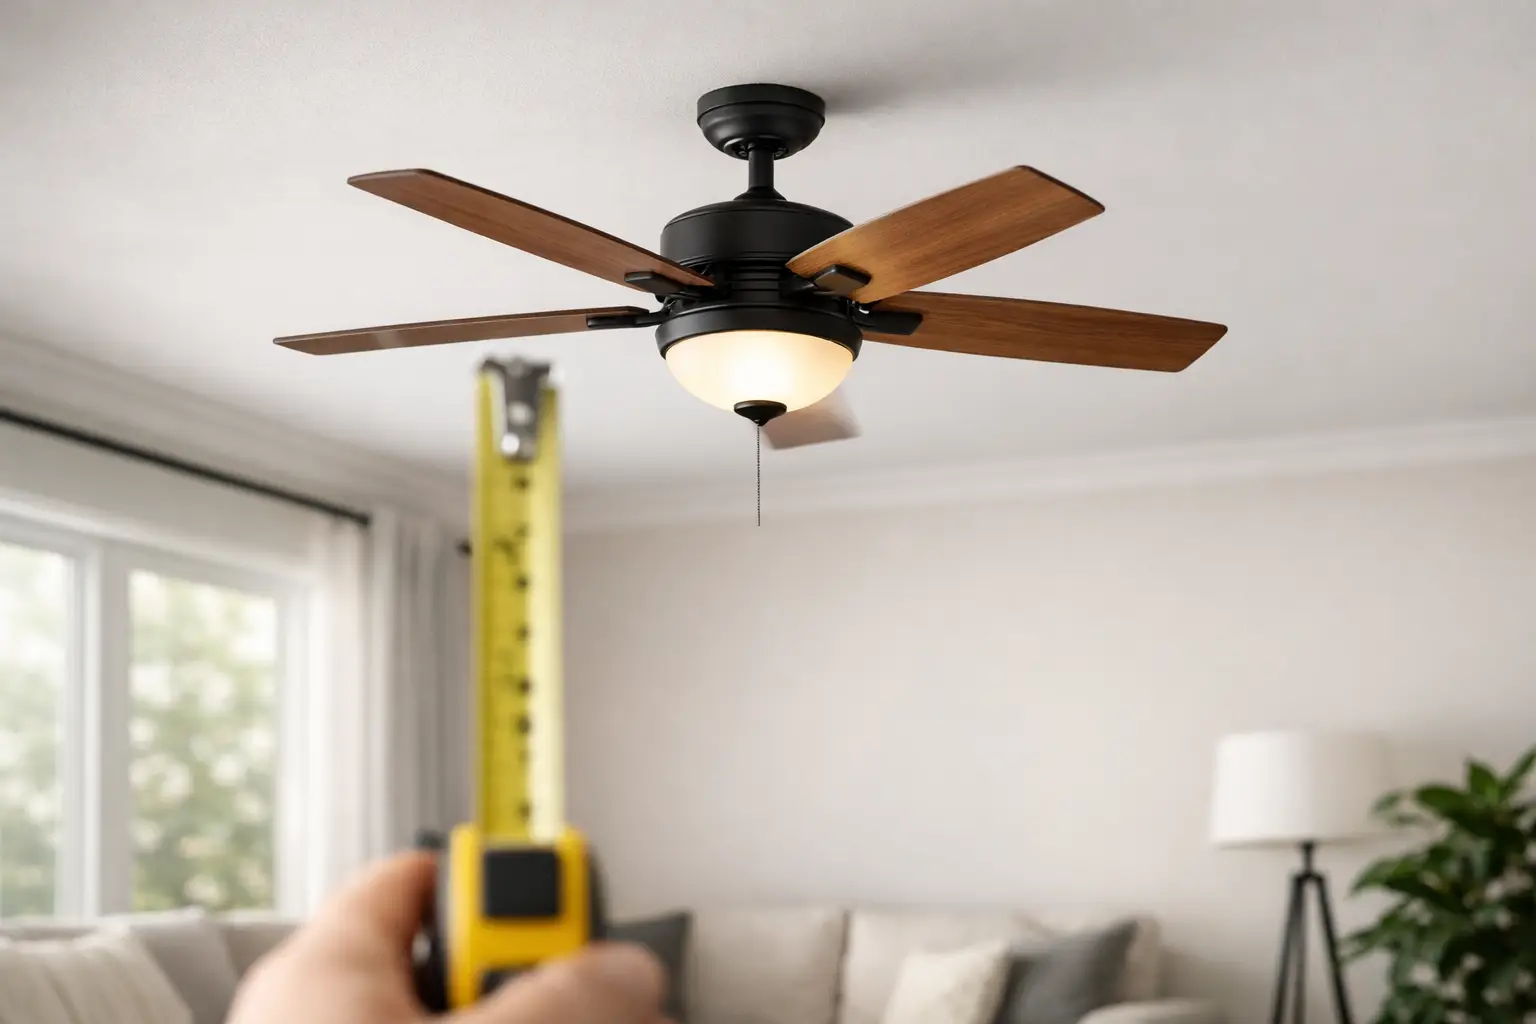
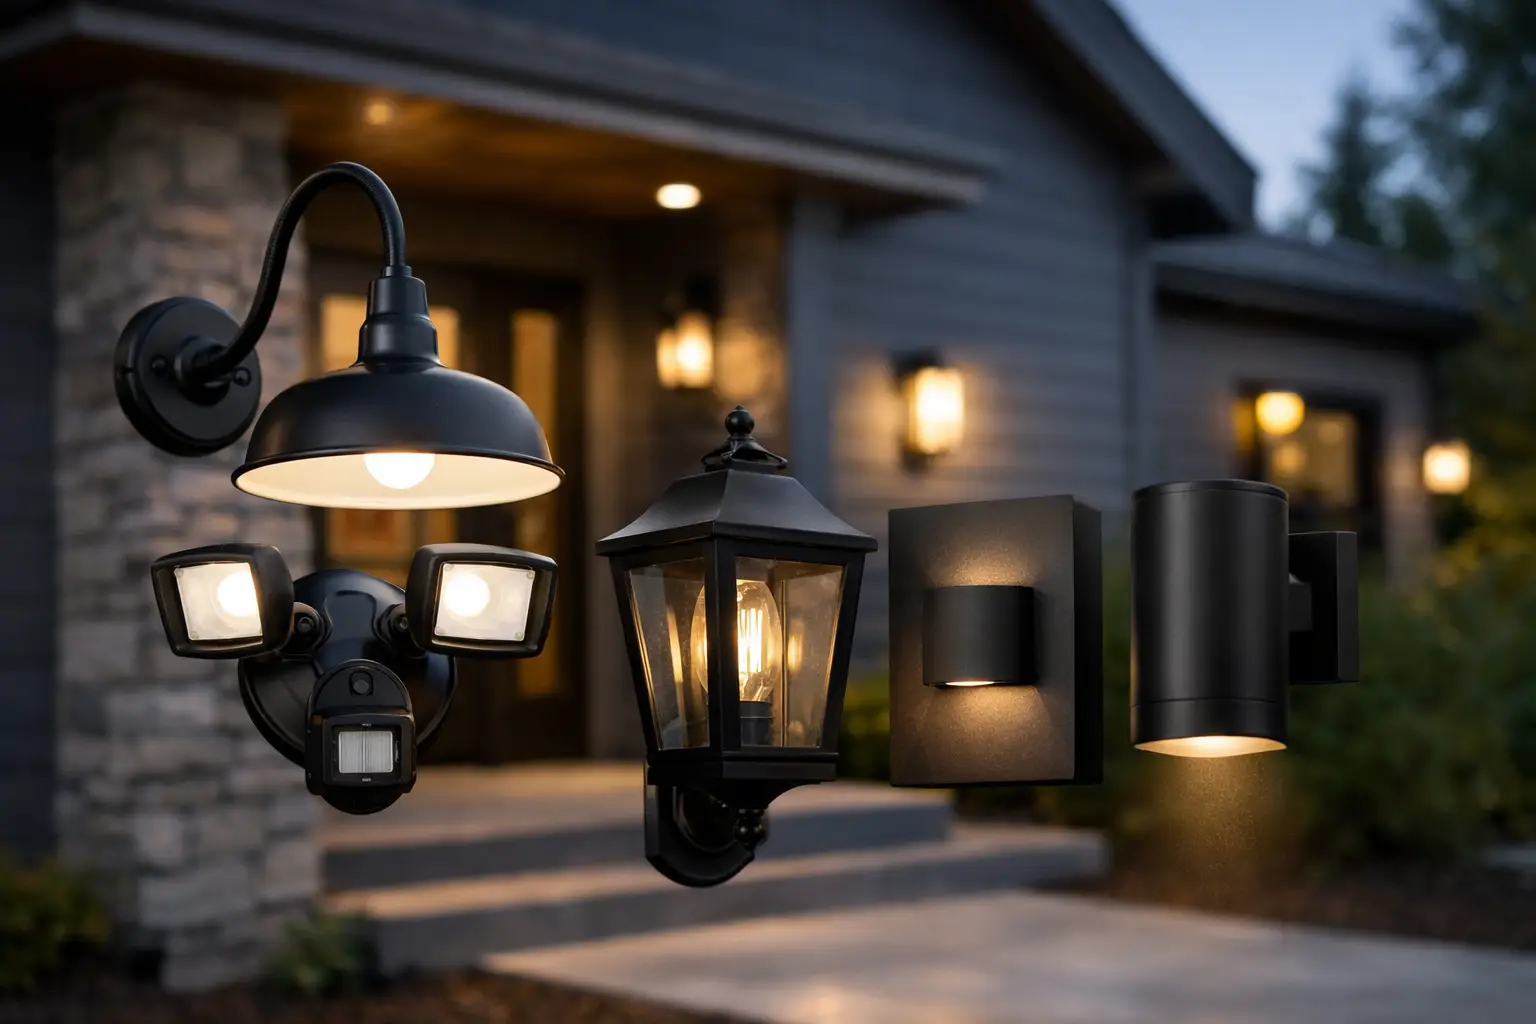
Lighting and ceiling fans deserve the same discipline. These are high-visibility items, but they also affect install labor and replacement speed. Standardizing canopy shapes, downrod options, blade finish, bulb type or integrated LED specs, and color temperature can prevent the all-too-common issue of one unit feeling cooler, dimmer, or more builder-basic than the one next door. For teams sourcing through trade channels, this is where a reliable vendor relationship can save real time.
Create three levels of specification, not twenty variations
Most projects do not need endless options. They need controlled choices. A practical model is to create three tiers: a base package, an upgrade package, and a premium package reserved for specific unit types or common areas.
The base package should cover the majority of units and be your volume play. It needs to be durable, attractive, and easy to restock. The upgrade package can introduce one or two higher-impact changes, such as a quartz counter instead of laminate or a more architectural vanity light. The premium package is where you place finishes that support rent premiums or sales strategy, but only where the math works.
This approach keeps procurement manageable while giving sales, leasing, or design teams room to differentiate where needed. It also helps investors avoid a common mistake: overspecifying secondary units where the market will not pay back the upgrade.
Use a finish matrix that crews can actually follow
A finish standard is only useful if it survives contact with the field. That means translating design intent into a simple finish matrix. Every unit type should have a one-page reference that shows approved materials, manufacturer or collection, finish name, SKU if available, install notes, and approved alternates.
Alternates matter more than many teams think. Backorders happen. Product lines change. If your spec book names one exact item with no backup, the team will improvise under pressure. That is when polished chrome suddenly appears in a satin nickel building. Pre-approving alternates keeps substitutions controlled.
Photos help, but written standards are what protect consistency. Include details like sheen level for paint, Kelvin range for lighting, and whether mixed metals are allowed in a single unit. If they are, define the rule. For example, plumbing trim and door hardware may stay in one finish while decorative lighting can vary slightly by collection.
Where finish standardization usually breaks down
The handoff between design, purchasing, and installation is the weak point on many projects. A beautiful spec set means little if purchasing buys near-matches or if the field team installs old inventory to keep moving. Standardization fails when there is no owner for the standard.
Assign one decision-maker or one small approval chain. On smaller projects, that may be the GC or lead designer. On larger portfolios, it may be an asset manager with design oversight. The point is simple: one team owns the finish rules, and substitutions flow through them.
Another common problem is overreacting to trends. Matte black, warm brass, and natural wood tones have all had strong runs. Some are still solid choices, but trends should be filtered through asset type, maintenance needs, and your local renter or buyer profile. In a coastal-inspired short-term rental, a lighter package may support the concept. In a heavy-use workforce housing property, durability and replacement access may matter more than a trend-forward metal finish.
Standardize the experience, not just the materials
This is where better projects separate themselves. Two units can use the same finishes and still feel very different if lighting levels, fan sizing, and visual balance are inconsistent. Standardizing the experience means aligning performance as well as appearance.
For lighting, that means consistent brightness, color temperature, and fixture scale by room type. A kitchen should not feel stark in one unit and dim in another because someone swapped fixture families without checking lumen output. For ceiling fans, it means using the right blade span and mounting approach for the room size and ceiling height. A fan that looks undersized in one living room weakens the whole package.
This is also where hero elements earn their keep. If you want a standardized unit package to feel elevated, use lighting or fans as the point of distinction. A well-chosen dining pendant or living room fan can give a repeatable plan a finished, intentional look without blowing the budget across every finish category.
A practical rollout plan for multifamily, flips, and turns
If you are standardizing an existing portfolio, do not try to reset everything at once. Start by auditing what is installed now, what is still available, and which categories create the most maintenance or procurement friction. Then choose the top five finish categories to lock first.
For most operators, those first categories should be flooring, wall paint, cabinet hardware, bath hardware, and lighting or fans. Those are the items that most influence both appearance and replacement workflow. Once those standards are in place, move to secondary items like mirrors, accessories, and decorative accents.
For new construction, build the package earlier than you think you need to. Finish decisions made late tend to get value-engineered in a rush, and rushed substitutions rarely improve the result. Early standardization gives purchasing time to confirm availability and gives trades time to understand the package before install starts.
If you manage flips, the rule is even simpler: choose one repeatable finish package for your target price band and use it until the market gives you a strong reason to change. That is how you shorten decision cycles and make each project easier to budget.
A good finish standard should save money, but it should also save attention. That may be the bigger advantage. When the finish package is settled, your team can focus on the moves that really change value – layout, lighting quality, curb appeal, and the details that help a unit lease faster or sell stronger. Spec the repeatable pieces well, and the rest of the project gets easier.


Leave a Reply